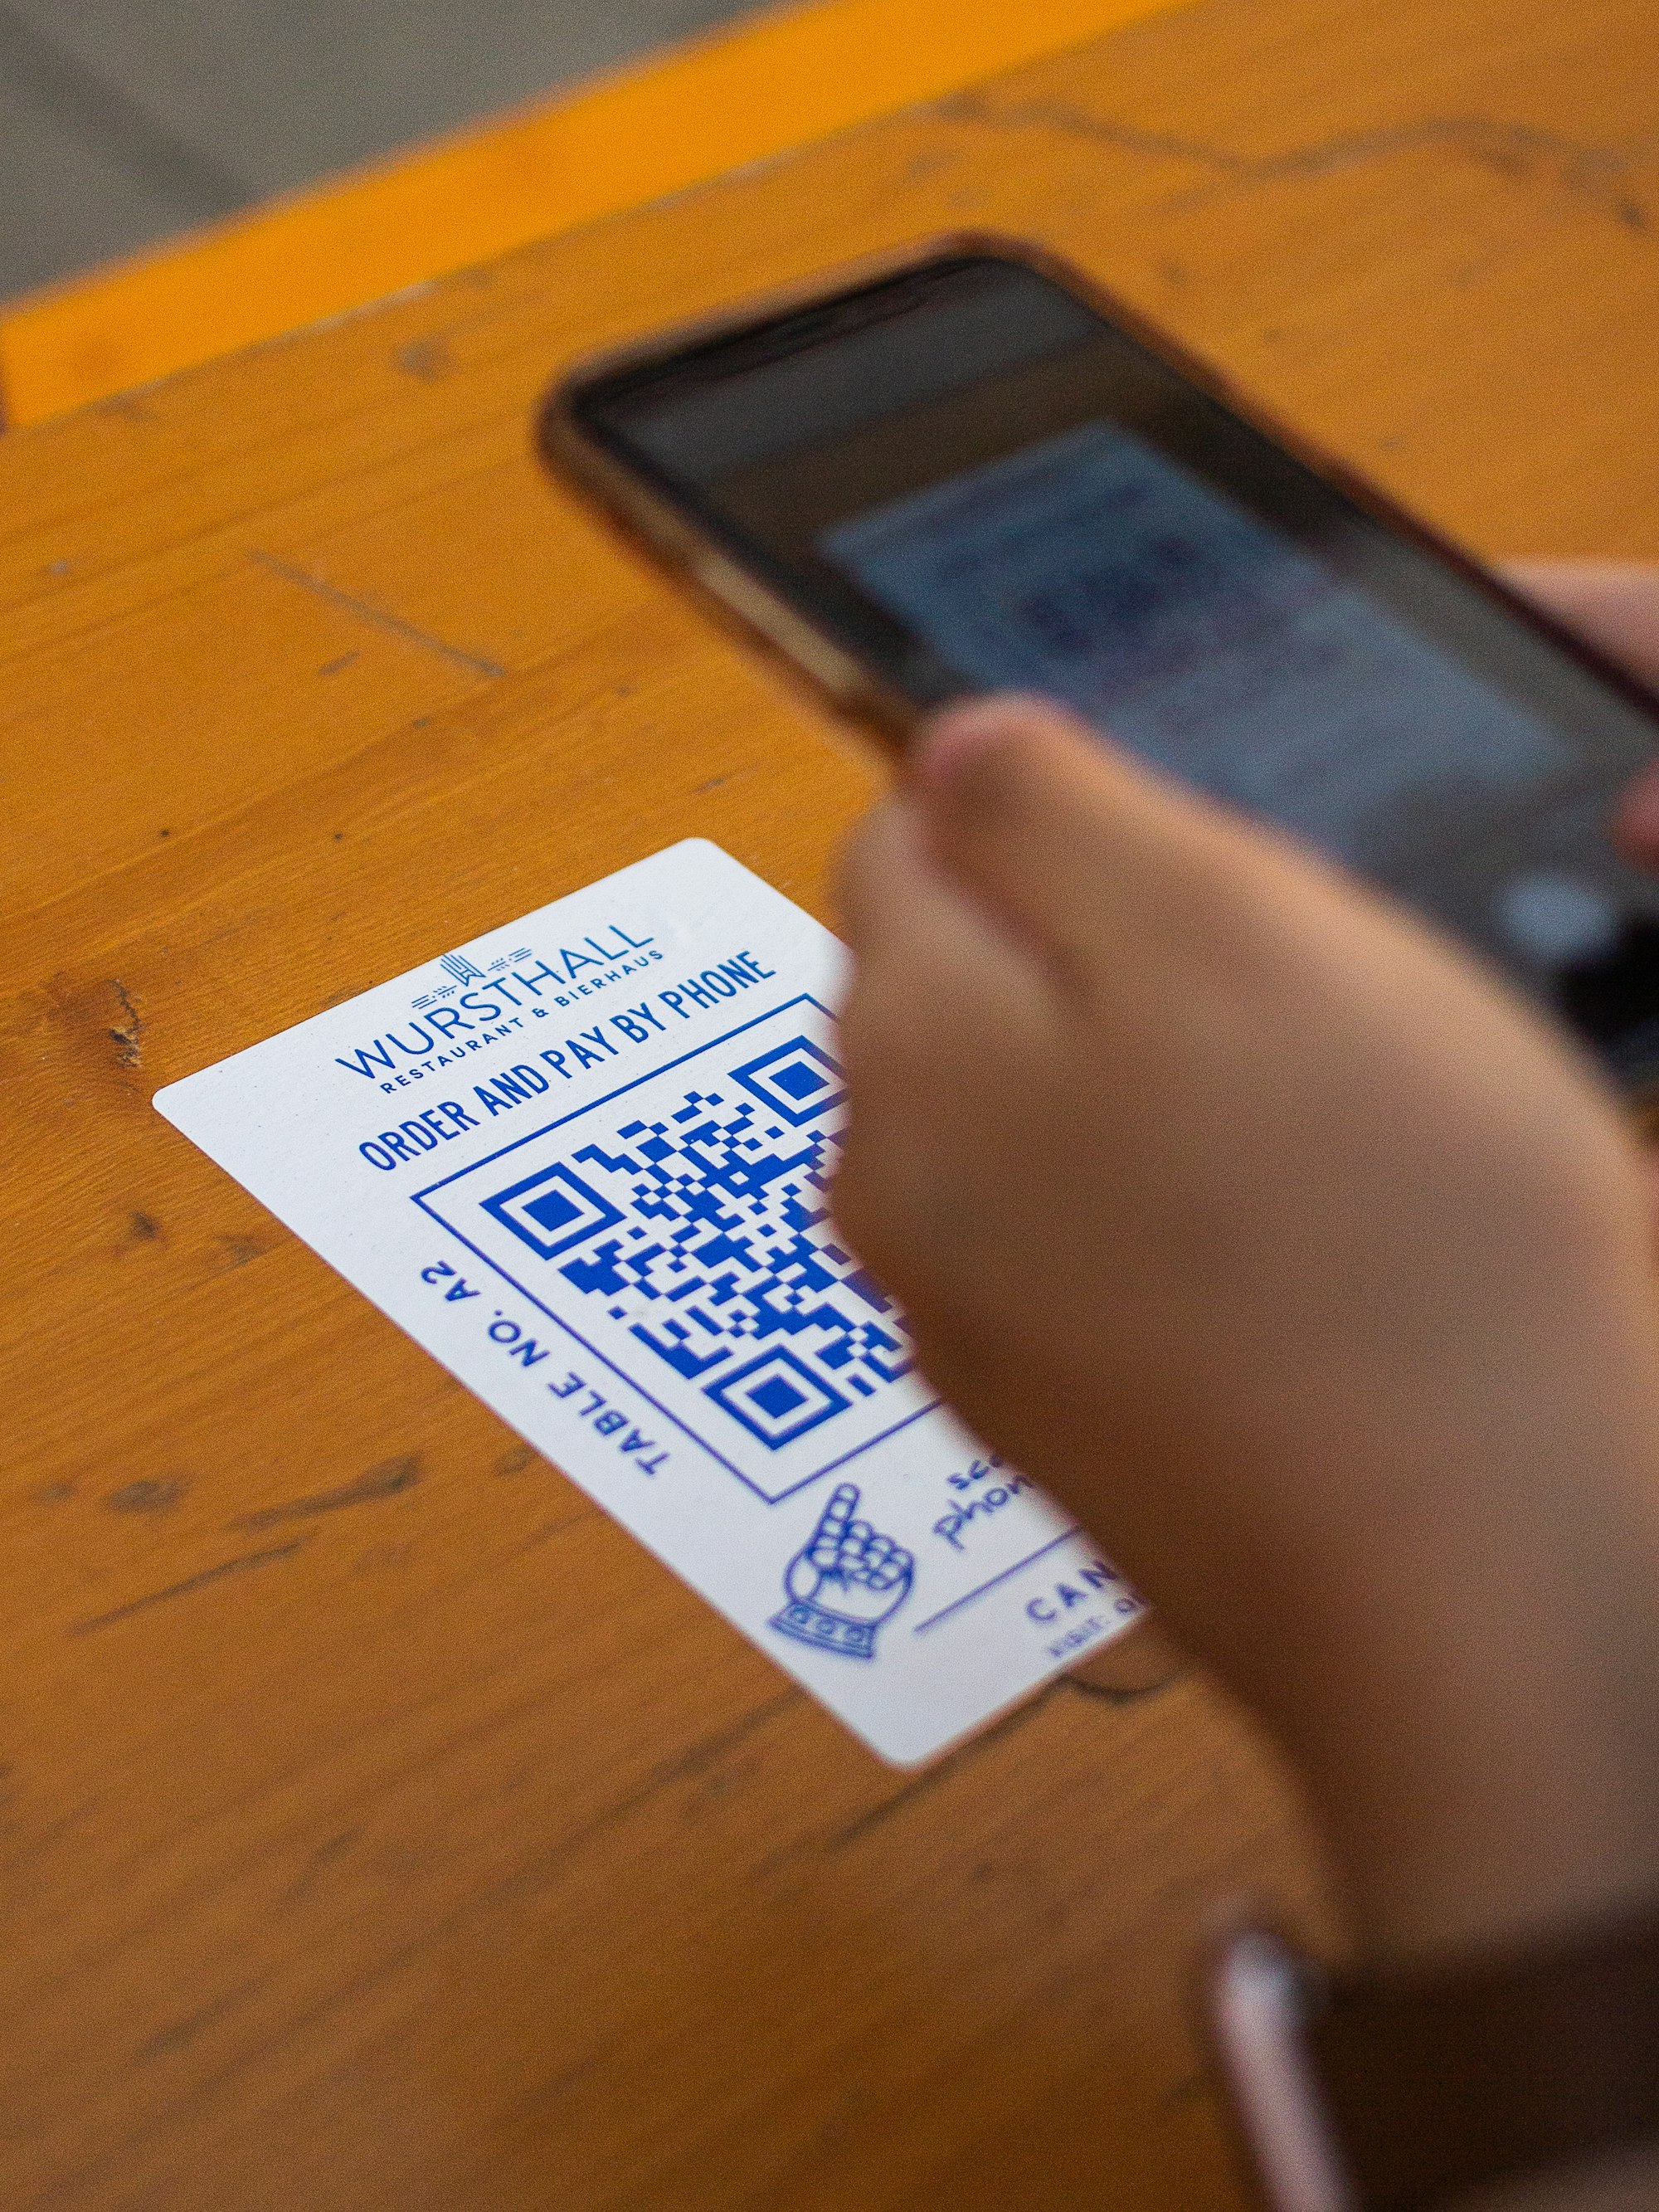
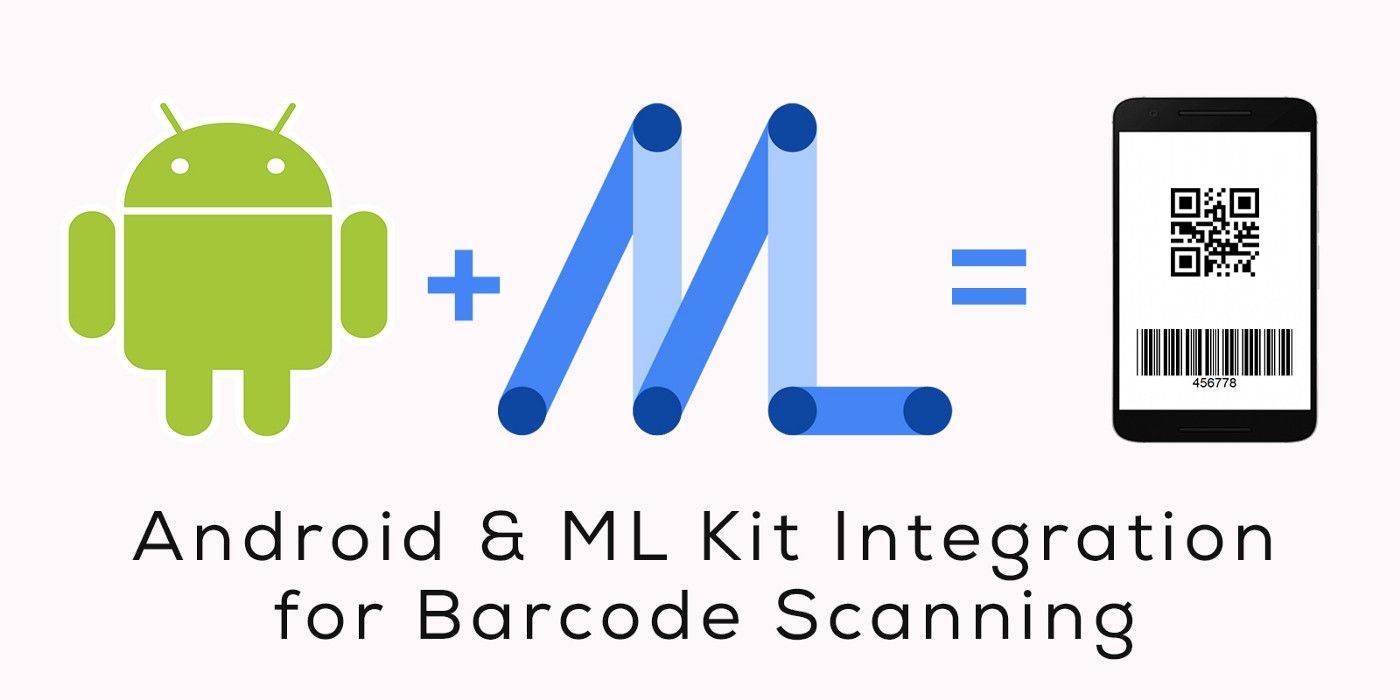
Android QR Scanner using ML-Kit 🤳🏻


I have explored quite a bit for finding best ways of scanning QR/barcode in android. In my journey I have come across multiple libraries like ZXing, Quickie etc. and then when I tried the ML-kit barcode scanning, the results were Overwhelming.
Conclusion:
ML-kit is very quick to scan and can recognise even when the Phone's camera is in a different orientation from QR code. upside-down, or sideways. (Other Libraries lacked this.)
Speed of the detection is amazingly fast when compared.
Works even when the lighting is very dim/bright. (extreme cases)
Also, the barcode detection is done on the device, and it requires no network connection.
Lets Jump to the Implementation:
There are two ways to implement this, Bundled and unbundled.
Unbundled:
- Feature is downloaded dynamically, Post the installation of the app.
- App size increases only 300 Kb
- First time loading (before you scan a barcode) is a bit long.
Bundled:
- App size increases by 3.2 Mb
- Scanning is available immediately, No loading.
For this article, Let's go ahead with the bundled one.
🔗 Dependencies needed:
- ML-Kit Barcode scanning
for processing the images, finding barcode in them (Live).
implementation 'com.google.mlkit:barcode-scanning:<Latest-version>'
2. CameraX
for displaying a customised camera layout.
implementation 'androidx.camera:camera-core:<latest-version>'
implementation 'androidx.camera:camera-camera2:<latest-version>'
implementation 'androidx.camera:camera-lifecycle:<latest-version>'
implementation 'androidx.camera:camera-view:<latest-version>'
👨🏻💻
Let's Jump to the code now.
We will need a new Activity/ fragment to host the Camera Preview, Along with the QR scanner overlay.
PreviewView for displaying the camera
<androidx.camera.view.PreviewView
        android:id="@+id/previewView"
        android:layout_width="match_parent"
        android:layout_height="match_parent" />
For QR Scanner overlay, you can find many on the internet.
Here are a few.

Also, add a Button for Turning the flash on/off.
📸 Camera Setup:
Selecting the back camera:
cameraSelector = CameraSelector.Builder()
            .requireLensFacing(CameraSelector.LENS_FACING_BACK)
            .build()
Bind the Camera Preview to the Lifecycle of the activity.
previewUseCase = Preview.Builder()
            .setTargetAspectRatio(screenAspectRatio)
            .setTargetRotation(binding.previewView.display.rotation)
            .build()
       previewUseCase.setSurfaceProvider(binding.previewView.surfaceProvider)

val camera = cameraProvider.bindToLifecycle(
                this,
                cameraSelector,
                previewUseCase
            )
🔎 Image Analysis:
You can filter what type of QR/Barcode are you looking for in the image
val options = BarcodeScannerOptions.Builder()
        .setBarcodeFormats(
                Barcode.FORMAT_QR_CODE,
                Barcode.FORMAT_AZTEC)
        .build()
OR, you can ignore this, and you get results for all kinds of QR/barcode.
ML-Kit's BarcodeScanning class has the method for processing the Image that we get from the Camera.
 val barcodeScanner: BarcodeScanner = BarcodeScanning.getClient()

 analysisUseCase = ImageAnalysis.Builder()
            .setTargetAspectRatio(screenAspectRatio)
            .setTargetRotation(binding.previewView.display.rotation)
            .build()

analysisUseCase.setAnalyzer(imageExecutor) { imageProxy ->
    val inputImage =
    InputImage.fromMediaImage(
        imageProxy.image,
        imageProxy.imageInfo.rotationDegrees
    )

}

barcodeScanner.process(inputImage)
        .addOnSuccessListener { barcodes ->
                barcodes.forEach { barcode ->
                    barcode.rawValue //This contains the plainText value
                }
            }
            .addOnFailureListener { error ->
                error.printStackTrace()
            }
            .addOnCompleteListener {
                imageProxy.close()
            }
The obtained Barcode class will contain all necessary details like - Type of the barcode, contents, etc.
Thank you.
Further reading:

Check out my project on github:
I have built an app for barcode scanning,
It also has a QuickTile support for scanning from the notification bar quick settings.
Let's discuss about that in a different article.


